Resolving "Cannot find module 'next/babel'" in Next.js
July 10, 2024
1 min
yarn add next-auth@betanpx auth secret, after this, AUTH_SECRET will be added to your .env.local file.import NextAuth from "next-auth"export const { handlers, signIn, signOut, auth } = NextAuth({providers: [],})
{"compilerOptions": {"paths": {"@/auth": ["./auth.ts"],...}},...}
import { handlers } from "@/auth" // Referring to the auth.ts we just createdexport const { GET, POST } = handlers
export { auth as middleware } from "@/auth"
yarn add @prisma/client @auth/prisma-adapteryarn add prisma --dev
DATABASE_URL=postgres://postgres:adminadmin@0.0.0.0:5432/db
Create the file ./clients/prisma.ts with the following, add the path to the tsconfig.json file in your root folder.
import { PrismaClient } from "@prisma/client"const prismaClientSingleton = () => {return new PrismaClient()}declare const globalThis: {prismaGlobal: ReturnType<typeof prismaClientSingleton>} & typeof globalconst prisma = globalThis.prismaGlobal ?? prismaClientSingleton()export default prismaif (process.env.NODE_ENV !== "production") globalThis.prismaGlobal = prisma
import NextAuth from "next-auth"import prisma from "@/clients/prisma"export const { handlers, auth, signIn, signOut } = NextAuth({adapter: PrismaAdapter(prisma),providers: [],})
Create a schema file at prisma/schema.prisma with the following ProsgreSQL.
datasource db {provider = "postgresql"url = env("DATABASE_URL")}generator client {provider = "prisma-client-js"}model User {id String @id @default(cuid())name String?email String @uniqueemailVerified DateTime?image String?accounts Account[]sessions Session[]// Optional for WebAuthn supportAuthenticator Authenticator[]createdAt DateTime @default(now())updatedAt DateTime @updatedAt}model Account {userId Stringtype Stringprovider StringproviderAccountId Stringrefresh_token String?access_token String?expires_at Int?token_type String?scope String?id_token String?session_state String?createdAt DateTime @default(now())updatedAt DateTime @updatedAtuser User @relation(fields: [userId], references: [id], onDelete: Cascade)@@id([provider, providerAccountId])}model Session {sessionToken String @uniqueuserId Stringexpires DateTimeuser User @relation(fields: [userId], references: [id], onDelete: Cascade)createdAt DateTime @default(now())updatedAt DateTime @updatedAt}model VerificationToken {identifier Stringtoken Stringexpires DateTime@@id([identifier, token])}// Optional for WebAuthn supportmodel Authenticator {credentialID String @uniqueuserId StringproviderAccountId StringcredentialPublicKey Stringcounter IntcredentialDeviceType StringcredentialBackedUp Booleantransports String?user User @relation(fields: [userId], references: [id], onDelete: Cascade)@@id([userId, credentialID])}
yarn prisma migrate dev
yarn add nodemailer
// .env.localEMAIL_SERVER_USER=usernameEMAIL_SERVER_PASSWORD=passwordEMAIL_SERVER_HOST=smtp.example.comEMAIL_SERVER_PORT=587EMAIL_FROM=noreply@example.com
import NextAuth from "next-auth"import { PrismaAdapter } from "@auth/prisma-adapter"import prisma from "@/clients/prisma"import Nodemailer from "next-auth/providers/nodemailer"export const { handlers, auth, signIn, signOut } = NextAuth({adapter: PrismaAdapter(prisma),providers: [Nodemailer({server: {host: process.env.EMAIL_SERVER_HOST,port: process.env.EMAIL_SERVER_PORT,auth: {user: process.env.EMAIL_SERVER_USER,pass: process.env.EMAIL_SERVER_PASSWORD,},},from: process.env.EMAIL_FROM,}),],})
Next, we can add a sign in button somewhere in your application like the Navbar. This will forward the user on to the Auth.js default signin page.
import { signIn } from "../../auth.ts"export function SignIn() {return (<formaction={async () => {"use server"await signIn()}}><button type="submit">Sign In</button></form>)}
Start your application, click on the sign in button we just added, and you should see Auth.js built-in sign in page with the option to sign in with your email:
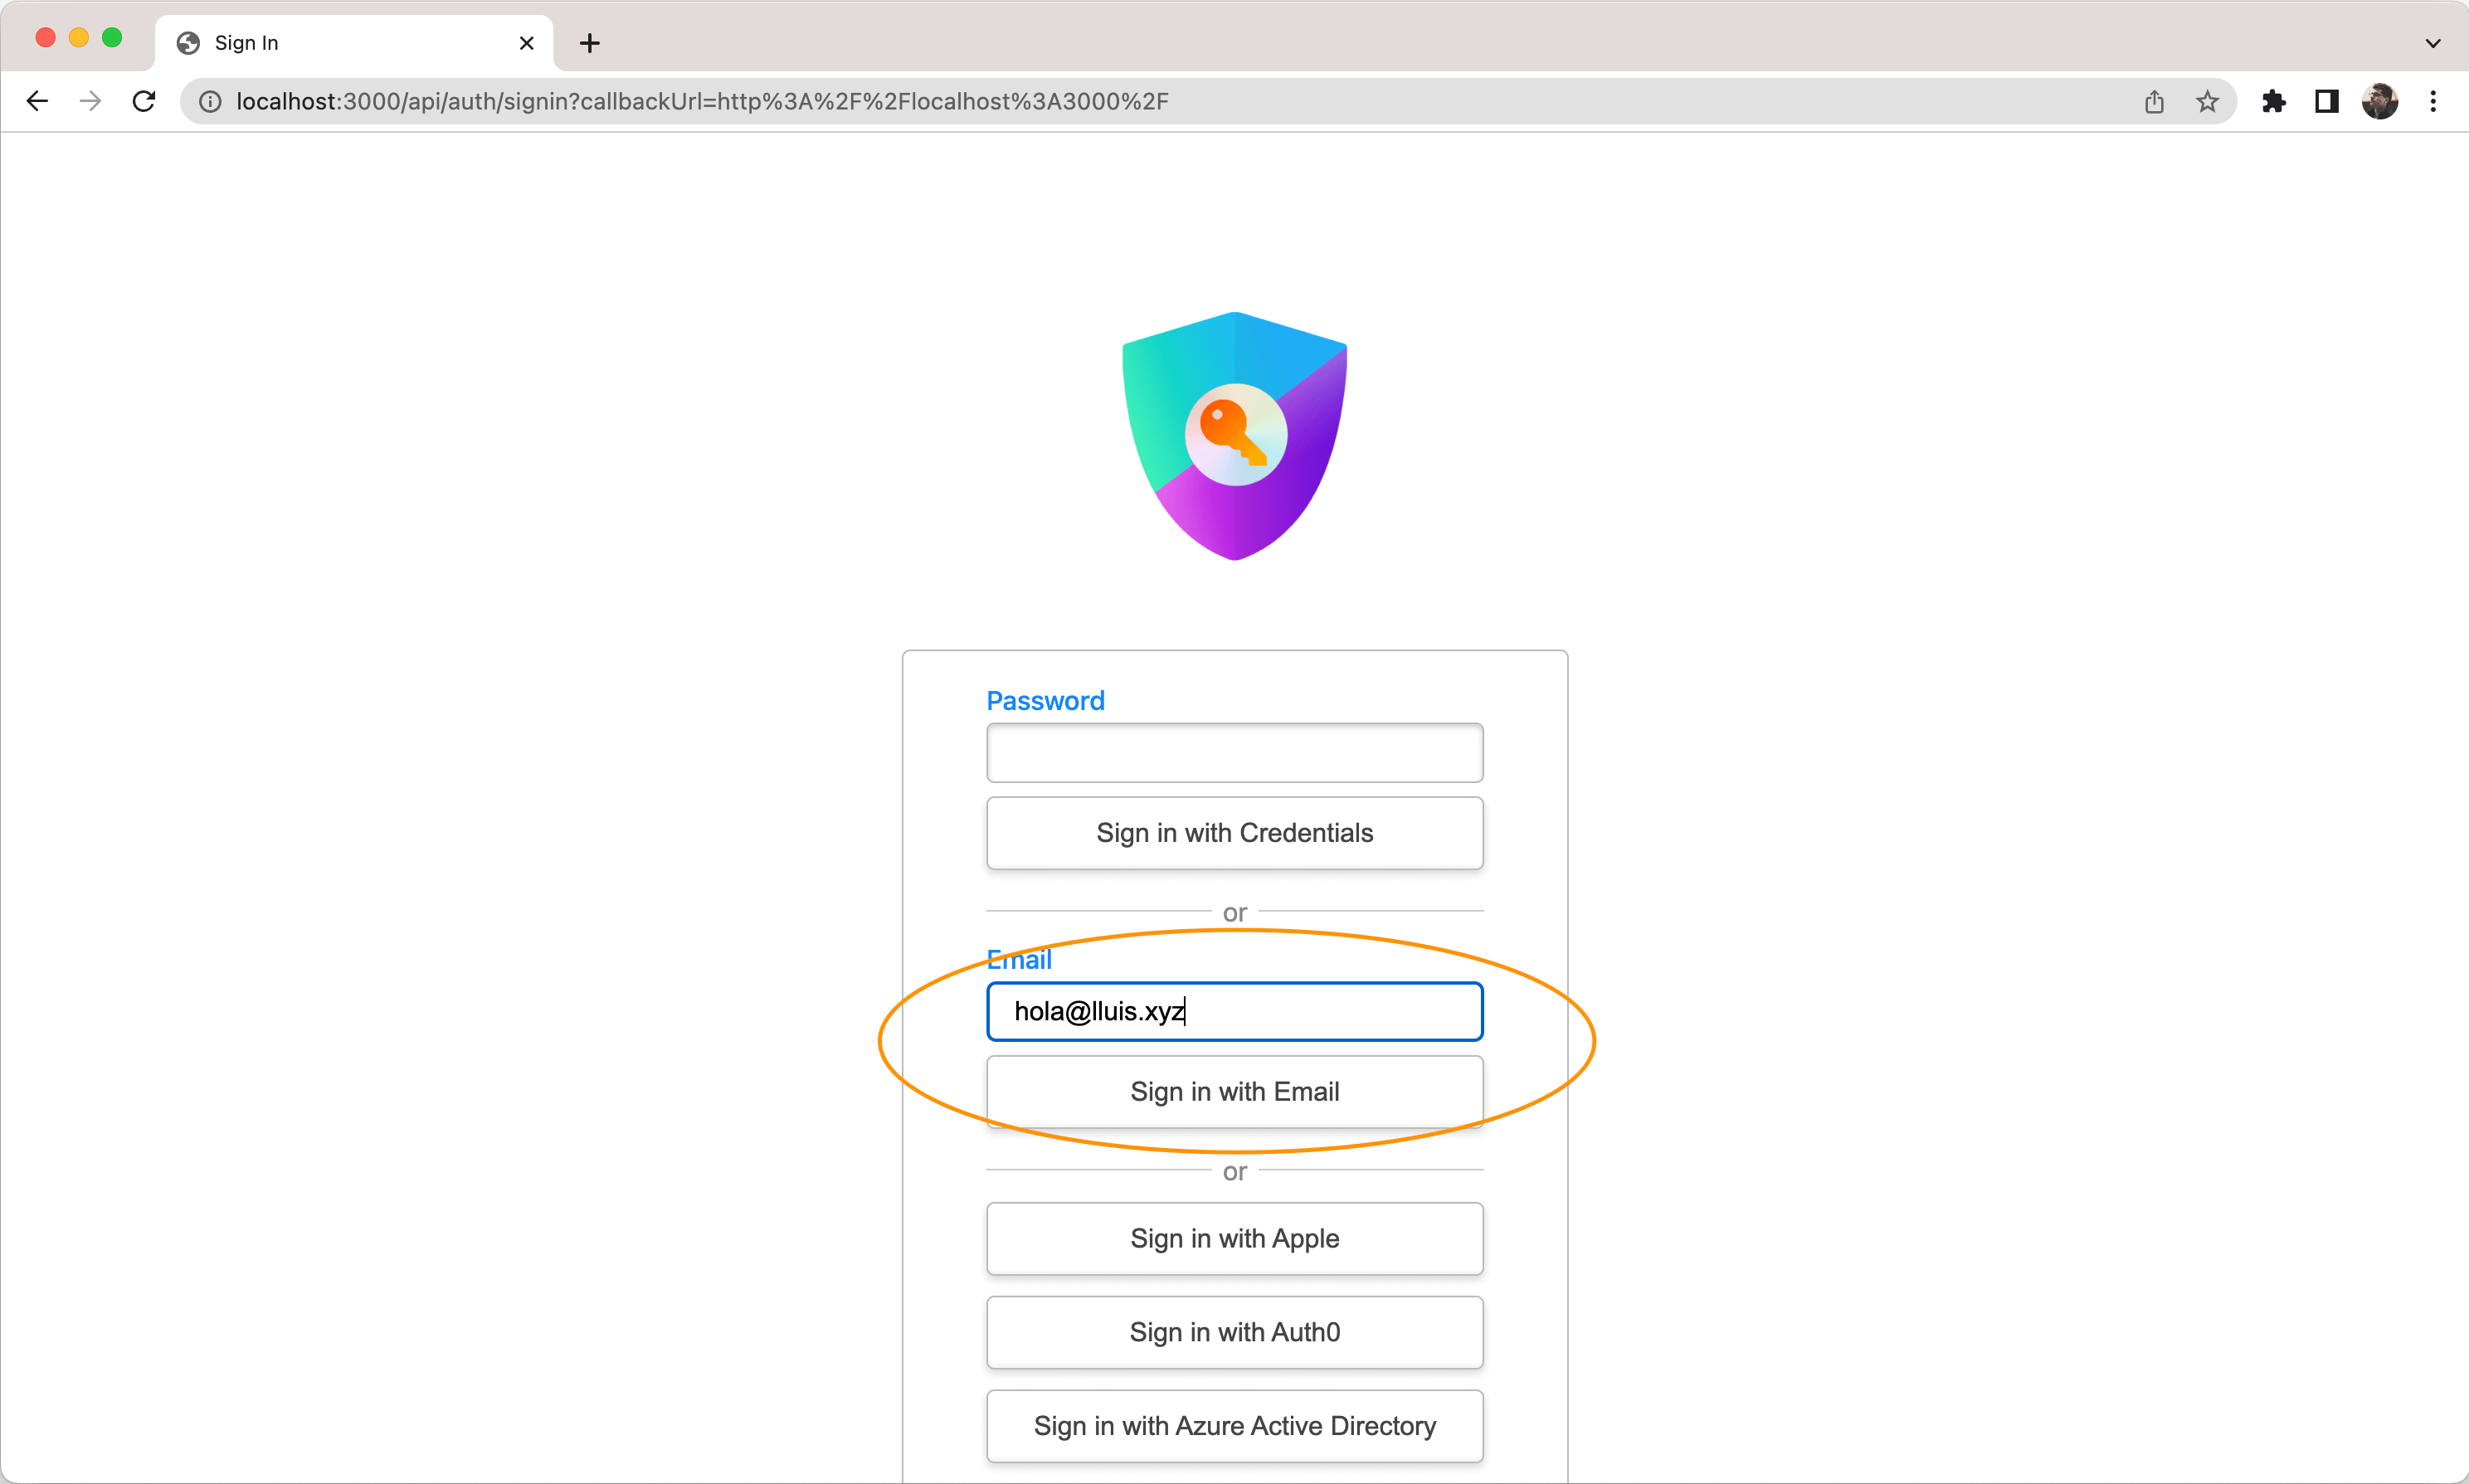 Insert your email and click “Sign in with Email”. You should receive an email from Auth.js, click on it and should be redirected to your application, landing already authenticated.